Faucet Installation: A Beginner's Guide to Home Improvement
22 December 2025 by Saira V.When it comes to home improvement projects, installing a new faucet can make a big impact on the functionality and appearance of your kitchen or bathroom. Whether you're upgrading an old, outdated faucet or simply want to change the look of your sink area, this beginner's guide will walk you through the process step by step. From choosing the right faucet for your home to connecting the water supply lines, this article will provide you with the necessary information and tips to successfully complete this DIY project. Read on to learn how to install a new faucet and give your home a fresh, updated look.

Choosing the Right Faucet for Your Home
When it comes to choosing the right faucet for your home, there are a few important factors to consider. First, think about the style and design of your bathroom or kitchen and choose a faucet that complements the overall aesthetic. You'll also want to consider the function of the faucet – do you need one with a high arc for filling pots and pans, or do you prefer a sleek and low-profile design? Additionally, think about the finish of the faucet and how it will coordinate with other fixtures in the room. Finally, be sure to select a faucet that is durable and high-quality to ensure it will stand the test of time in your home.Gathering Necessary Tools and Materials
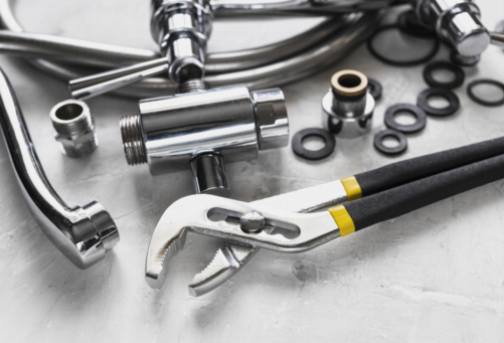
Before you begin your faucet installation, it's important to gather all the necessary tools and materials. You'll need a set of adjustable wrenches, a basin wrench, plumber's putty or silicone sealant, a bucket, towels, a flashlight, and safety glasses. Additionally, you'll need the new faucet with all its components included, and Teflon tape for sealing the threads of the water supply lines. Gathering these tools and materials beforehand will ensure a smooth and efficient installation process.Removing the Old Faucet
Start by turning off the water supply to the faucet. You can usually do this by shutting off the valves located underneath the sink. Once the water supply is turned off, turn on the faucet to relieve any remaining pressure in the lines. Next, use a wrench to loosen the nuts that hold the faucet in place. There may be a nut at the base of the faucet, as well as nuts connecting the water supply lines to the faucet. Once the nuts are loosened, you can carefully lift the old faucet out of the sink. Be sure to clean the area where the old faucet was installed before proceeding with the installation of the new faucet. This will ensure a clean and secure fit for your new faucet. By following these steps, you can safely and effectively remove the old faucet from your sink, making way for the installation of your new faucet.Preparing the Sink for Installation
This involves cleaning the area, ensuring that it is level and stable, and making any necessary adjustments to the sink to accommodate the new faucet. This step is crucial for ensuring that the installation process goes smoothly and that your new faucet is securely in place once it is installed. Take your time and pay attention to detail during this step to set the stage for a successful faucet installation.Installing Your New Faucet
Follow these steps to ensure a successful installation:1. Place the new faucet over the mounting holes in the sink and align it properly.
2. From underneath the sink, secure the faucet in place using the provided mounting hardware.
3. If your new faucet requires a gasket or seal, place it over the mounting holes before securing the faucet.
4. Once the faucet is securely in place, connect the water supply lines to the corresponding hot and cold valves.
5. Use an adjustable wrench to tighten the connections, being careful not to overtighten and damage the fittings.
6. If your faucet has a sprayer hose, connect it to the designated outlet on the faucet and secure it in place.
7. Ensure all connections are tight and secure before turning on the water supply. By following these steps, you can successfully install your new faucet and enjoy improved functionality and aesthetics in your kitchen or bathroom.